Naming the File
Your web files and your fellow classmates files will be viewed by your professor at one time. Therefore, it is essential to have consistency in files names so that your file is kept confidential and organized. Before you upload a file to the Faculty Student Exchange, please name the file in the following way: Exam ID space Class Name space Assignment Name. For instance we will be using the file 123456789 Business Organizations I Assignment 1.docx in the example below.
Important
Only submit your files in Word format.
If you have any issues uploading your files to FSE, please contact the Helpdesk (559-326-1599 or helpdesk@sjcl.edu) before the submission deadline. Only those students who notify the Helpdesk before the submission deadline will be given instructions on an alternate way of submitting their assignments.
When naming your files it is also important to play it safe and avoid common illegal directory and filename characters such as:
| # | pound | < | left angle bracket | $ | dollar sign | + | plus sign |
| % | percent | > | right angle bracket | ! | exclamation point | ` | backtick |
| & | ampersand | * | asterisk | ‘ | single quotes | | | pipe |
| { | left bracket | ? | question mark | “ | double quotes | = | equal sign |
| } | right bracket | / | forward slash | : | colon | @ | at sign |
| \ | back slash |
Make sure to remove all identifying information from your file.
Also, keep these rules in mind.
- Don’t start or end your filename with a space, period, hyphen, or underline.
- Keep your filenames to a reasonable length (Maximum length is 128 characters)
- Avoid using underscores and hyphens. Use a space instead.
Upload a File
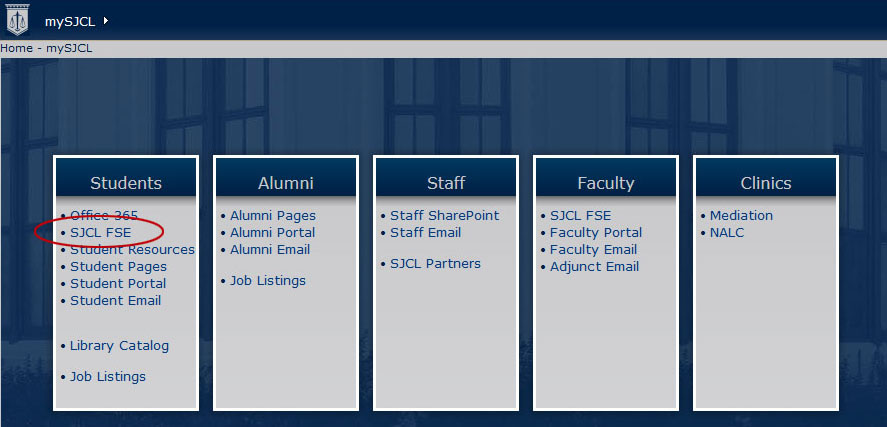
- To start using the Faculty Student Exchange (FSE) go to
my.sjcl.edu and click
SJCL FSE.
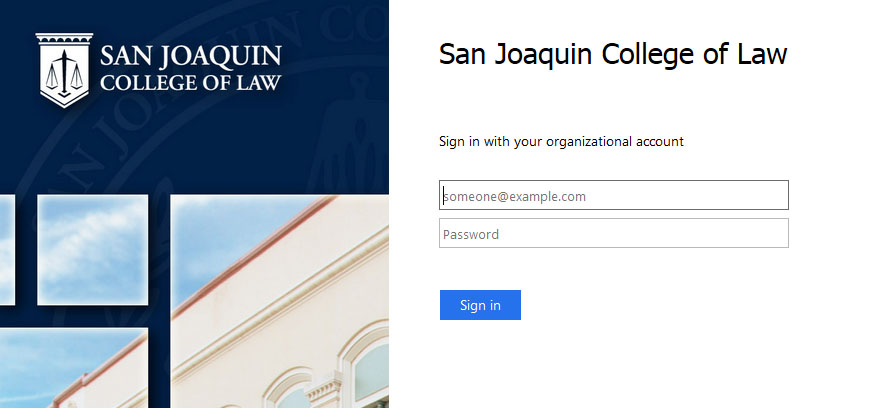
- It will then prompt you for your login credentials. Enter your SJCL email address for the user name and your 8 digit PIN for your password.
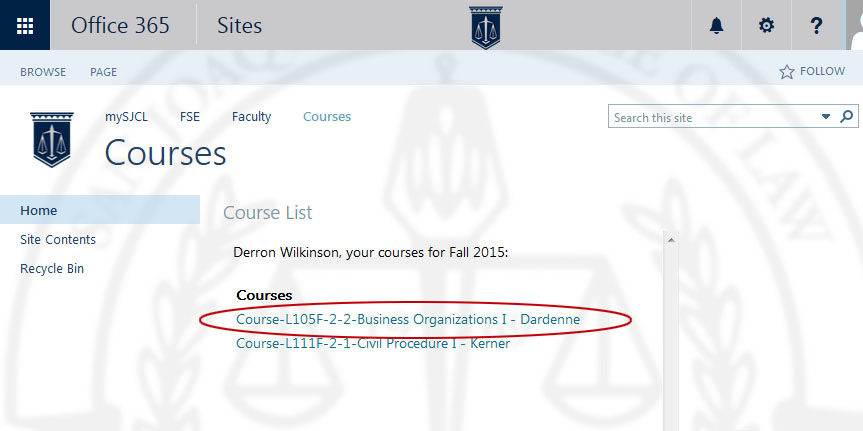
- You will then see a list of your courses.
If you are using Firefox you will be requested to allow sjcl.sharepoint.com to run Microsoft Office. Please click the Allow button (see below) at the top of the screen to allow that access.

- Locate the class that you would like to upload the assignment to and click the class name. (In this example we are uploading to Professor Dardenne's class Business Organizations I)
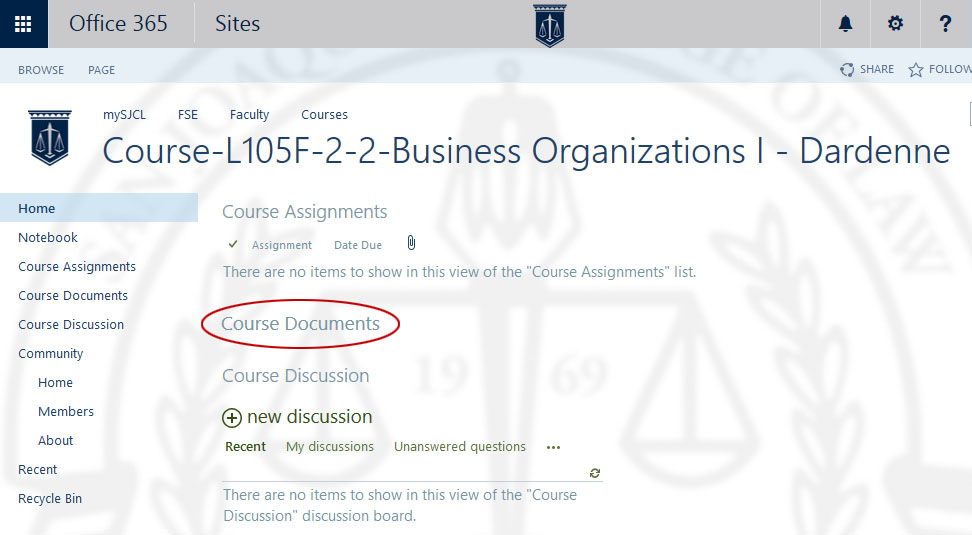
- Now you are at the homepage for Business Organizations I. You will see Course Documents (where you upload your assignments), Course Assignments (Where the professor keeps the assignments for download), and the Course Discussion (Where you can start or join discussions about the course). On this page click
Course Documents.
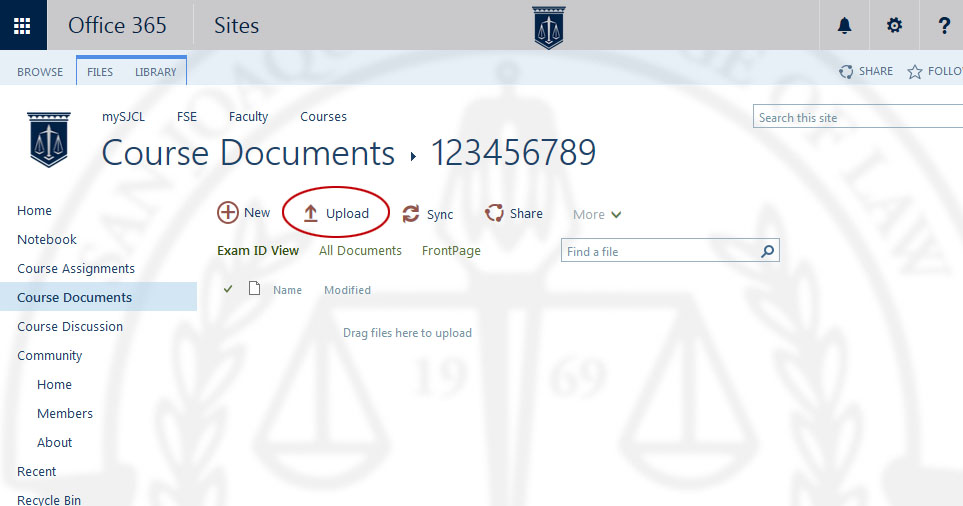
- Within the Course Documents you will see your Exam ID folder (where you upload your assignments). Click your
Exam ID(In this example it's
123456789)

- Within your Exam ID folder you will see a listing of any documents you have loaded. To add a new document click
Upload.
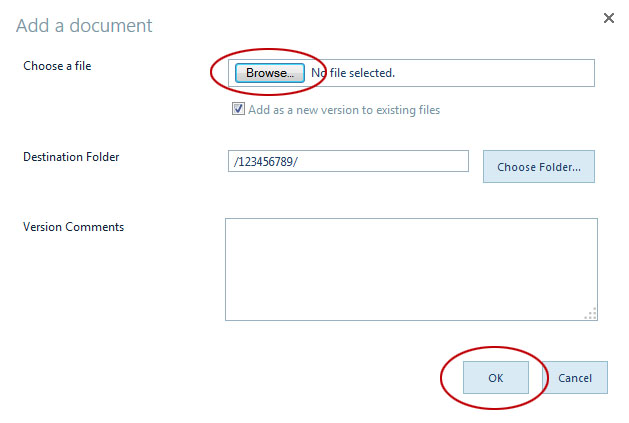
- A pop up window will appear - Click
Browse, then go to the location on your computer where you have your assignment saved and double click it, then click
OK.
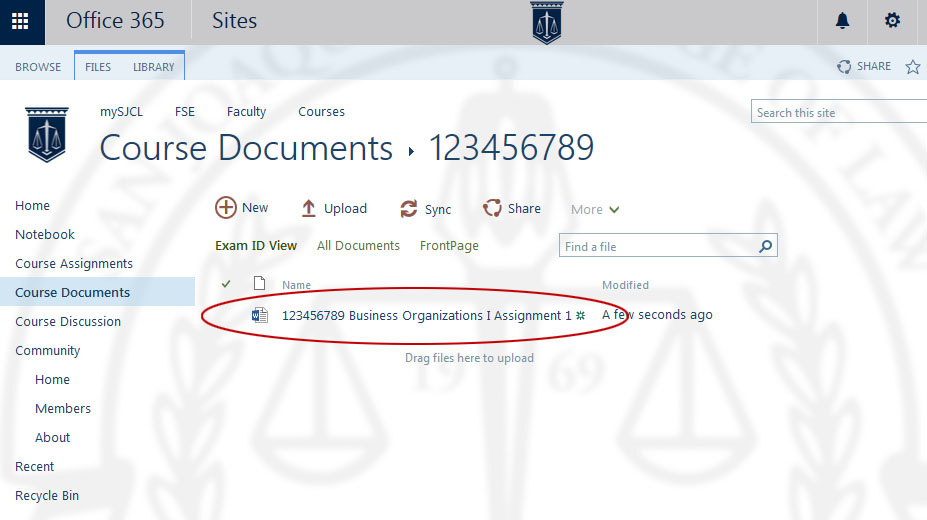
- You will then see your document added to the list of other documents in the folder.
Download a File
- Go to the file you would like to download (In this example we will use the same file we just uploaded). Click on the tab
Files, then check the box next to the file name, and then click
Download a Copy.

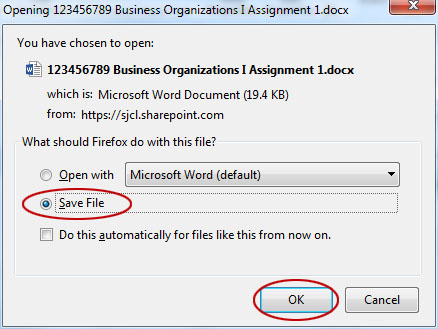
- Now select
Save Fileand then click
OK. It will save to your Downloads folder on your local computer.